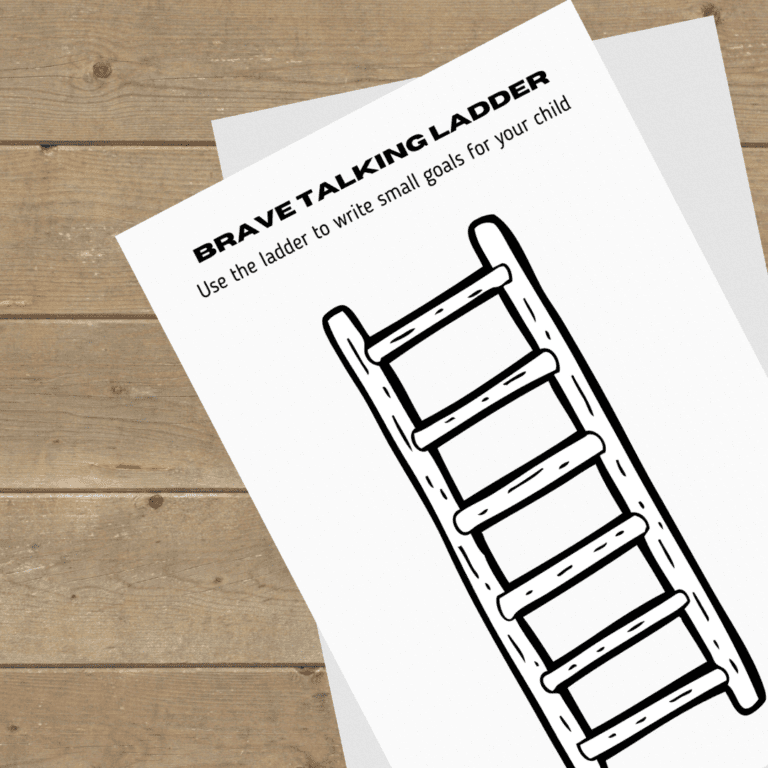
Brave Talking Ladder - To use with Children with Selective Mutism
What is a brave talking ladder?

GET THE FREE DOWNLOAD
Subscribe to our email list & get the free download. This will unlock the file and subscribe you to our email list. You can unsubscribe at any time.
Thank you!
You have successfully joined our subscriber list. Here is your free printable file.

What is Selective Mutism?
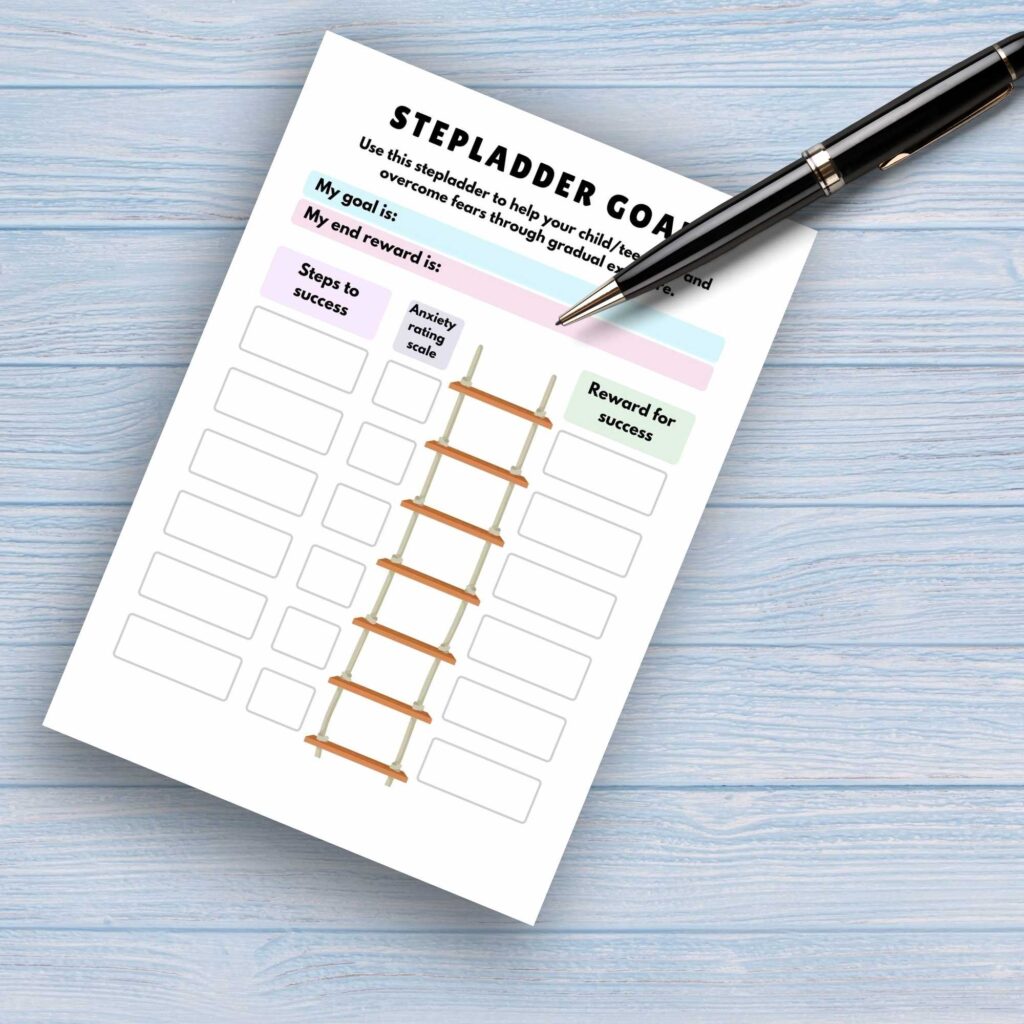
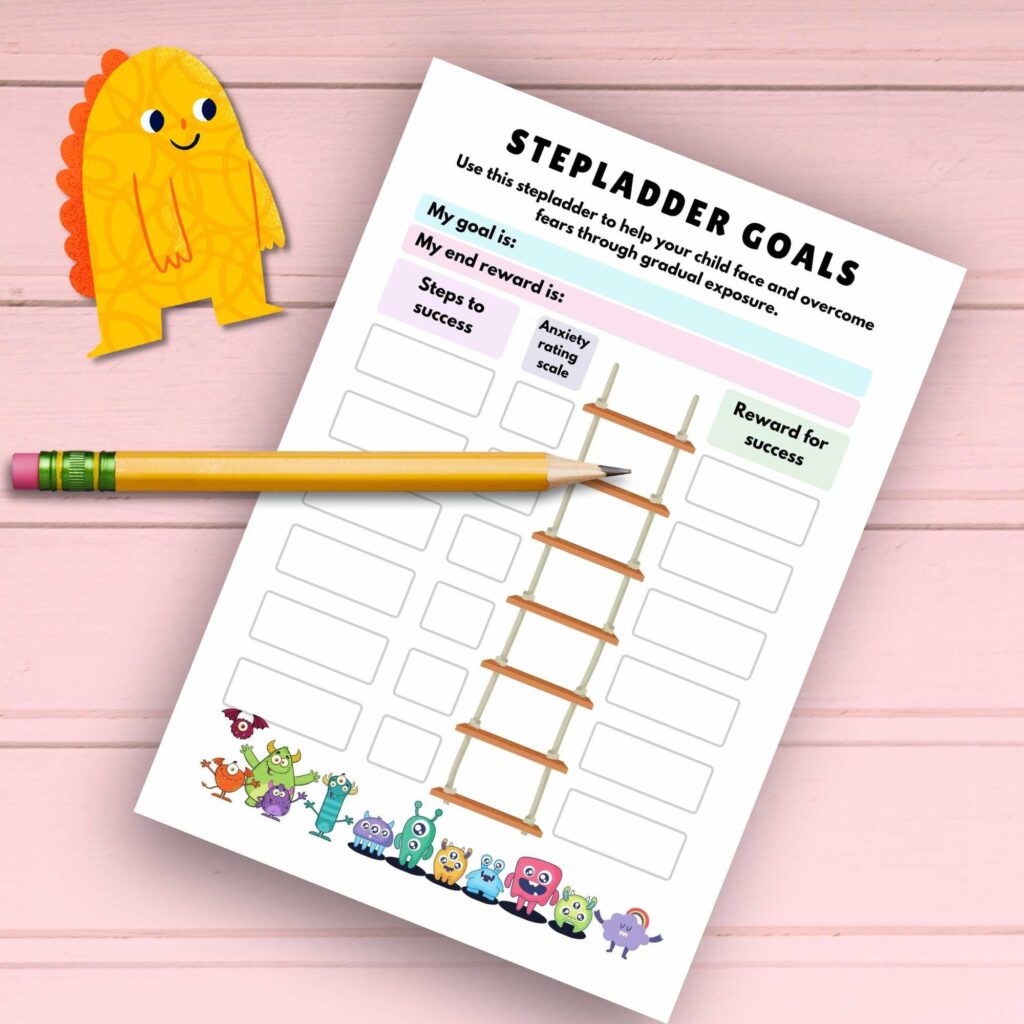
How to use the brave ladder
Use the steps to set small goals to help your child or student to achieve their biggest goal. Use the free printable or draw a ladder with as many steps as you like. Put their first goal on the bottom step, their second goal on the next step, etc. Put their BIG goal on the very top. If you think about taking steps towards a goal like taking steps on a ladder, they’ll get to the top before they know it!


How to set exposure goals
- Choose a brave speaking challenge. Think about what the activity will be, where it will be and the level of anxiety it may cause. Remember the key is to start with something which is not too anxiety-provoking for the child. If a child becomes too overwhelmed with the first challenge then they will not progress to the next step.
- Talk to the child beforehand. Let them choose the activity.
- Just before the exposure challenge, allow time for your child to warm up and feel comfortable, and relax.
- If appropriate, prepare the other people involved. An example of a goal maybe for the child to whisper to a parent in front of a teacher. Let the teacher know what you will be doing and what the role of the teacher or other person will be.
- Avoid giving any praise. Some children do not like praise in front others. Reward and praise your child afterwards. If appropriate.
- Be prepared with a second plan in case the challenge ends up being too difficult. To prevent reinforcing avoidance you will want your child to succeed in something, it doesn’t matter how small as long as you can identify something positive.
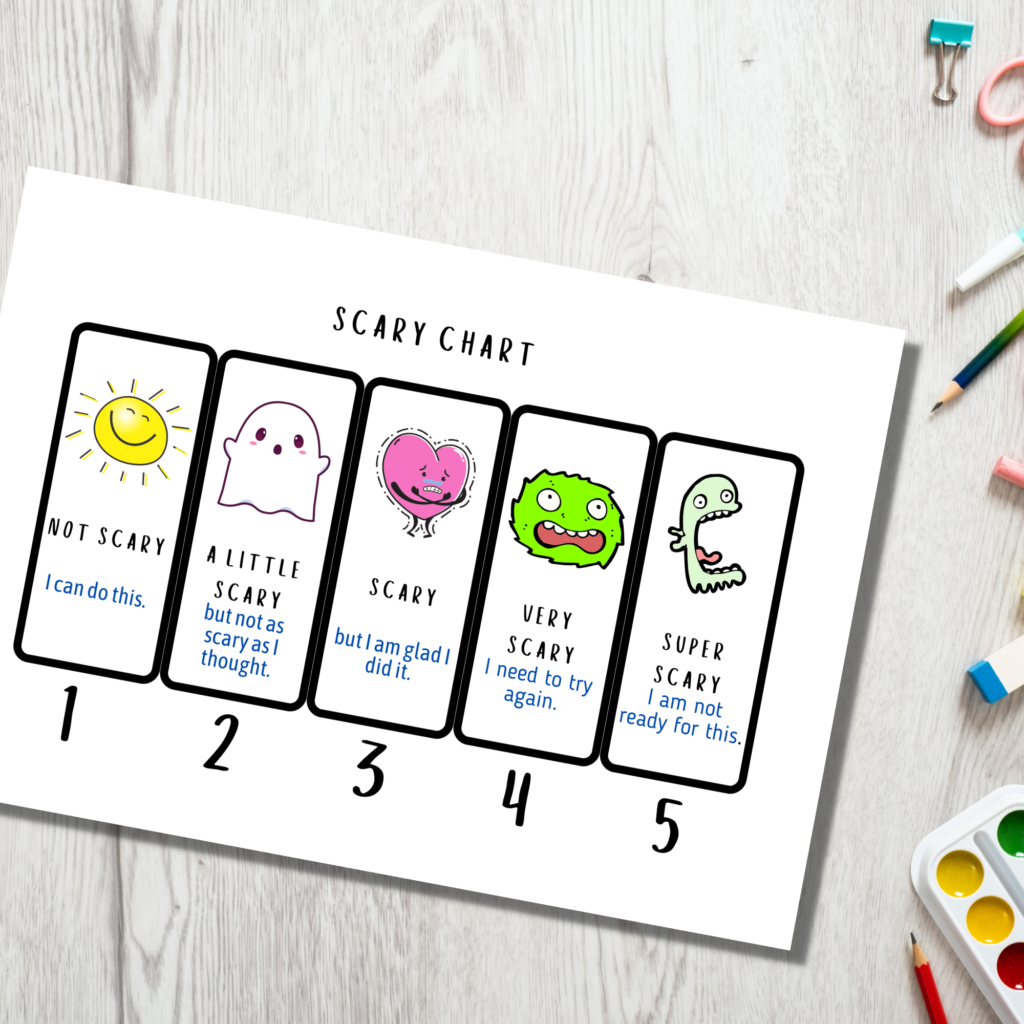
The Scary Chart
Use this scary chart (below) or develop your own. After an exposure challenge, ask the child to point to the scary chart and let him/her tell you how scary a challenge was. The aim is to help the child to realize that an exposure challenge is not as scary as they thought. It also gives the parent/teacher/therapist feedback about how the child is progressing and whether the child is ready to move to the next stage.

Examples of graded exposure challenges
There are many types of exposure challenges that can be used with children with SM. Here are a few ideas to help you to start thinking about setting your own challenges. Here I will give some suggestions for a young child in a school setting. This is a child who has never or rarely spoken in school and the parent is initiating the exposure work with a teacher.
- Step one – The parent and child sit in a room away from teachers and other children. The parent explains to the teachers not to interrupt the first session. The goal is to have the child feel comfortable talking to a parent or other adult. – Repeat this step until the child is comfortable talking to the parent in school. Involve your child to plan some games they would like to play. During the first session, you do not need to have the child speaking to you. Making animal sounds or whispering would be a great first achievement. Don’t put any pressure on the to speak.
- Step two – Once the child is comfortable talking with the parent, inside a room in the school. You can move on to the next step. During this step, you can try leaving the door open while playing a game. This will help the child to get used to the possibility of someone overhearing him/her. If your child can not tolerate the door being open you may want to repeat step one and close the door and gradually open the door slightly. Don’t be afraid to repeat the same step over. The idea is to move up the ladder slowly and at the child’s pace
- Step three – If the child is okay with having the door open, you may want to have a teacher come into the room. The teacher is not to interact or give eye contact with the child. The teacher can ‘pretend’ to be getting something from the cupboard. The goal is to keep the child engaged in conversation while the teacher is present. Repeat this step several times, increasing the length of the time the teacher stays in the room.
- Step four – When the child is okay speaking while a teacher is present. Have the teacher make eye contact or ask some very simple yes/no questions about what they are playing. Keep it short, to begin with and increase the time the teacher interacts with the child. You may need to repeat step three a few times before going on to step four. Stay at step four until the child is speaking with their ‘brave voice’.
- Step five – By now hopefully the child feels comfortable with the teacher being present. Here you may think about starting to remove yourself and let the teacher take over. You may start by removing yourself for only five minutes. During these five minutes, the teacher continues the activity with the child. Over the next few sessions, you can remove yourself for longer. If the child doesn’t want you to leave then you can move to another area of the room. Let the teacher continue the activity with you present in the room but not in the activity.
- Step 6 – Once the child is comfortable with the teacher you/the teacher can start introducing other children to join the activity. Remember to start small, bring in one child do this for several sessions, and gradually add more children. Remember, during each step not to add pressure on the child.
Watch the video below from the Child Mind Institute to find out more about Selective Mutism and exposures.


GET THE FREE DOWNLOAD
Subscribe to our email list & get the free download. This will unlock the file and subscribe you to our email list. You can unsubscribe at any time.
Thank you!
You have successfully joined our subscriber list. Here is your free printable file.
Frequently asked questions
QUESTION: How to use the printable resources?
ANSWER: These printables can be downloaded onto any computer or laptop. Follow the instructions on the screen to download your printable resource. Once you have downloaded the resource, you can save onto you computer and print at a later staged or print right away. These can be printed using a home printer or a professional printing service. There are many online and instore printing stores. We recommend to print on good quality card or paper. Depending on the resource you may want to laminate it for longer user.
QUESTION: Why use these printables instead of purchasing physical copies?
ANSWER: Some printables are FREE, but even the printables that you have to purchase, are cheaper than pre-printed for two reasons, First, someone selling printables doesn’t have the overhead of printing, supplies, postage and packaging so the price is much less than someone who prints for you and then mails to. We also live in a world of instant gratification, who doesn’t want things right away? Using digital printables mean you can have it ready in minutes. Another reason to use printables is because they are green and eco-friendly. By printing yourself, you are eliminating all the packaging that pre-printed resources need to make it look presentable and protect it in transit. Pre-printed resources usually come with a cardboard box/plastic sheet to keep it protected and an envelope or box which may be lined with protective plastic or bubble wrap. This will then become trash which is bad for the environment.
QUESTION: What experience do you have with Selective Mutism?
ANSWER: I offer many different resources to help users with Selective Mutism and/or other anxiety disorders and often get asked this question.
I am a qualified Occupational Therapist with over 10 years working in the Mental Health sector. I am also a mother of a child with Selective Mutism. I have spent the last few years working closely with teachers and therapists learning about Selective Mutism, educating other professionals and helping my own child with Selective Mutism.
OTHER RESOURCES TO HELP CHILDREN AND TEENS WITH
SELECTIVE MUTISM
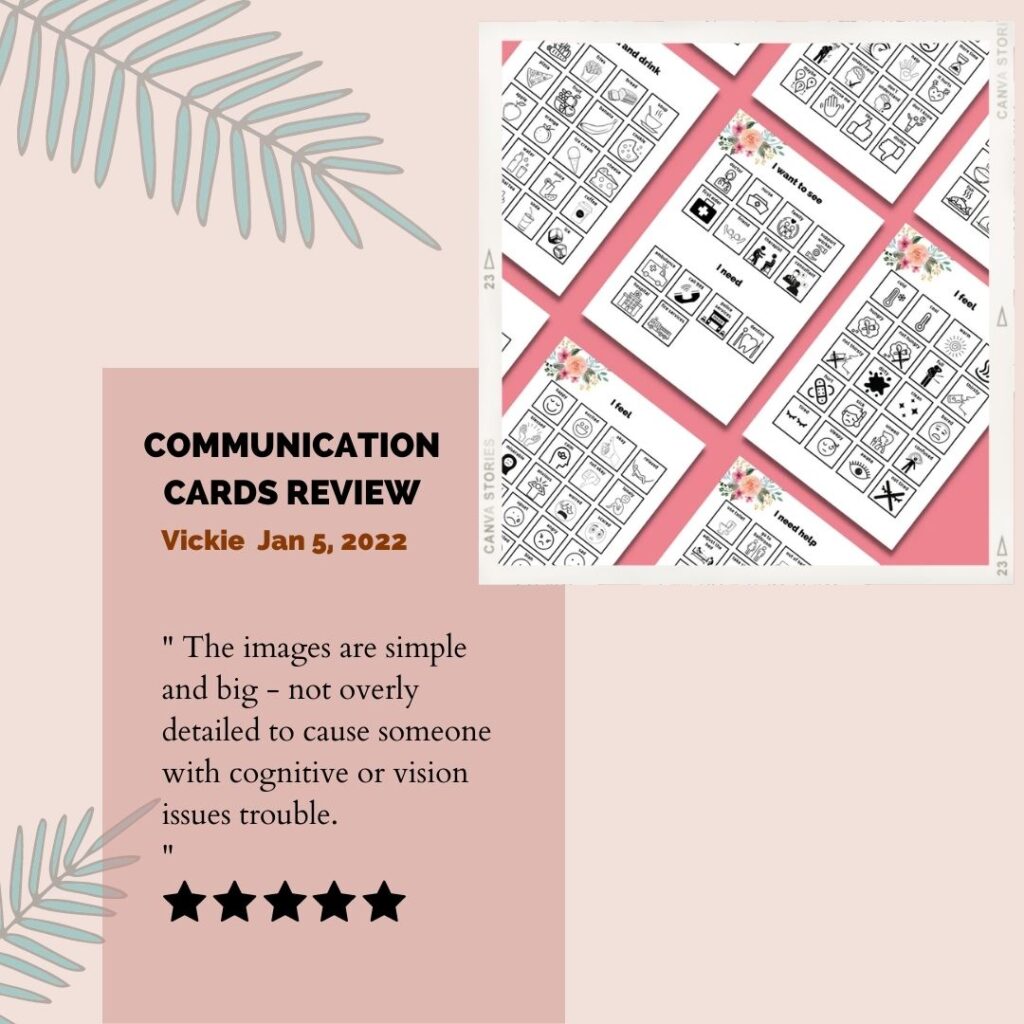
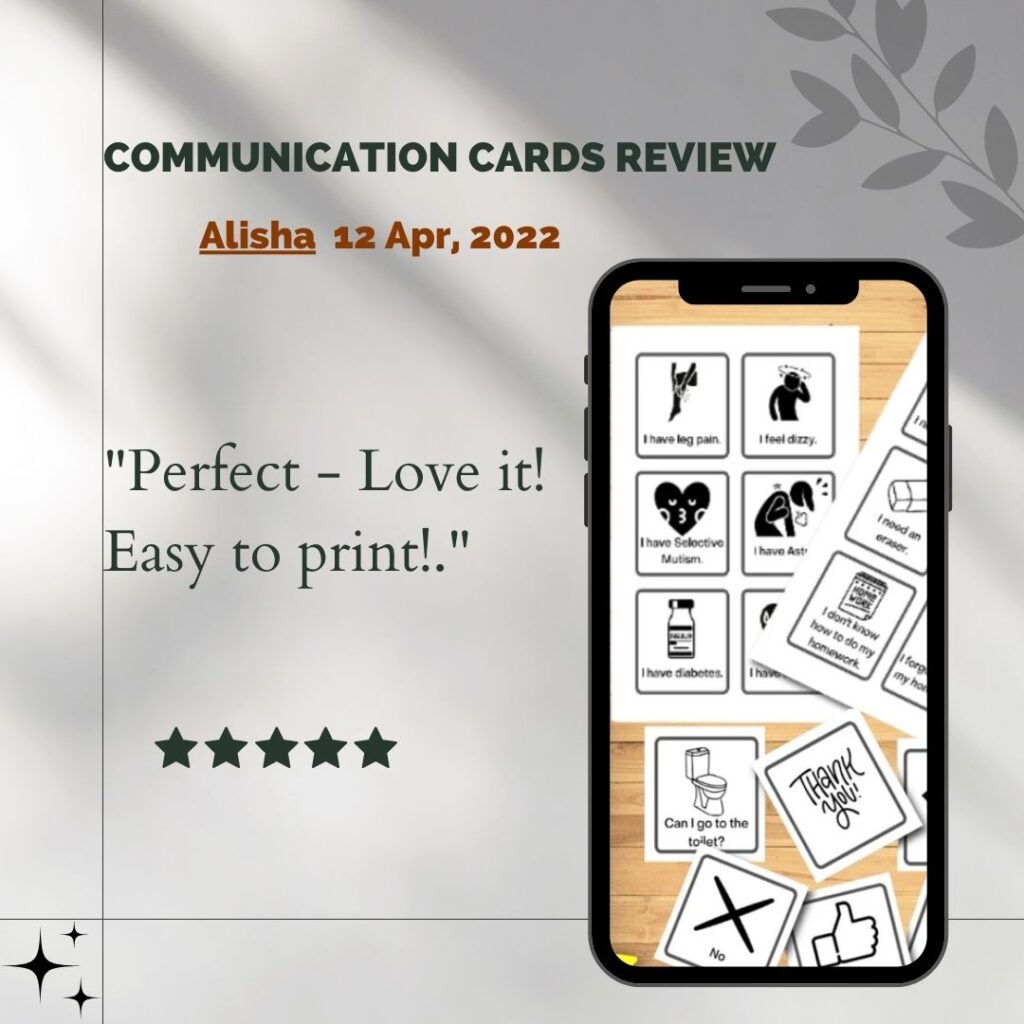
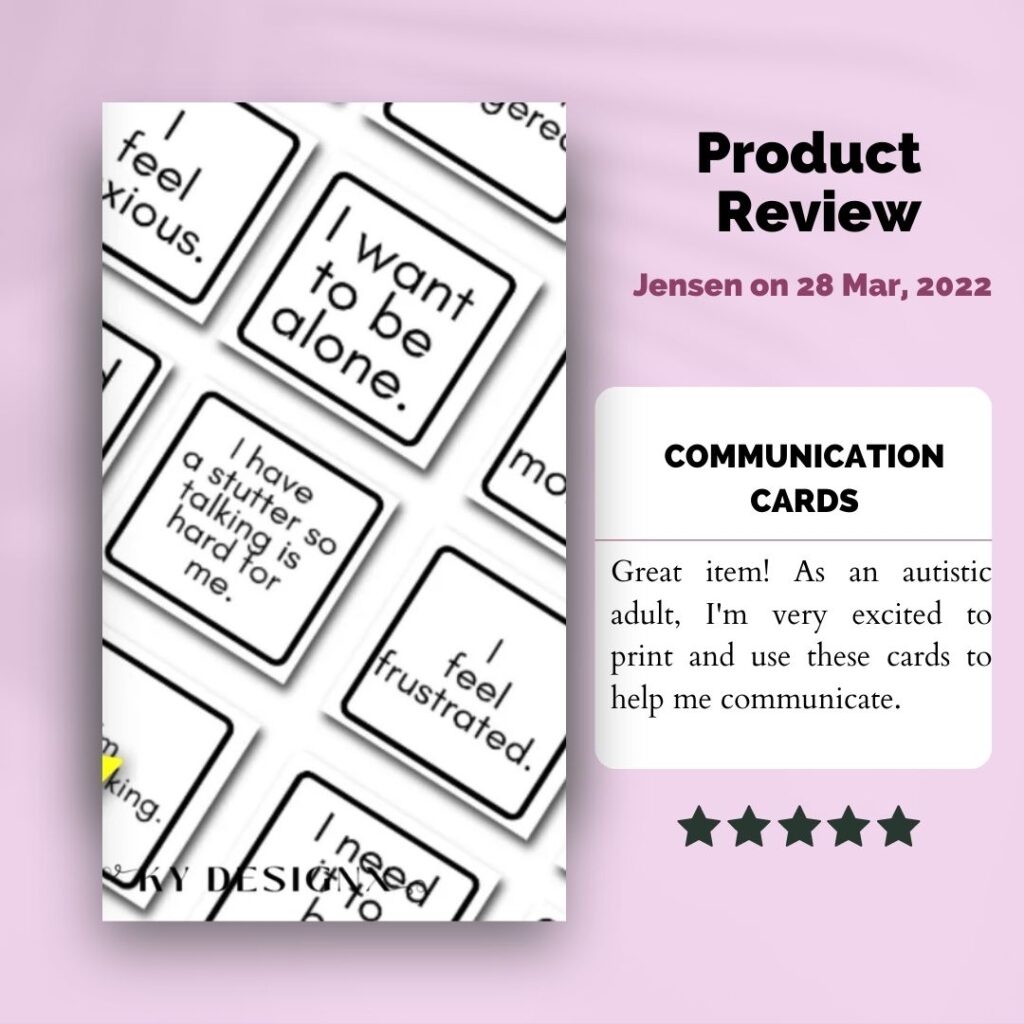
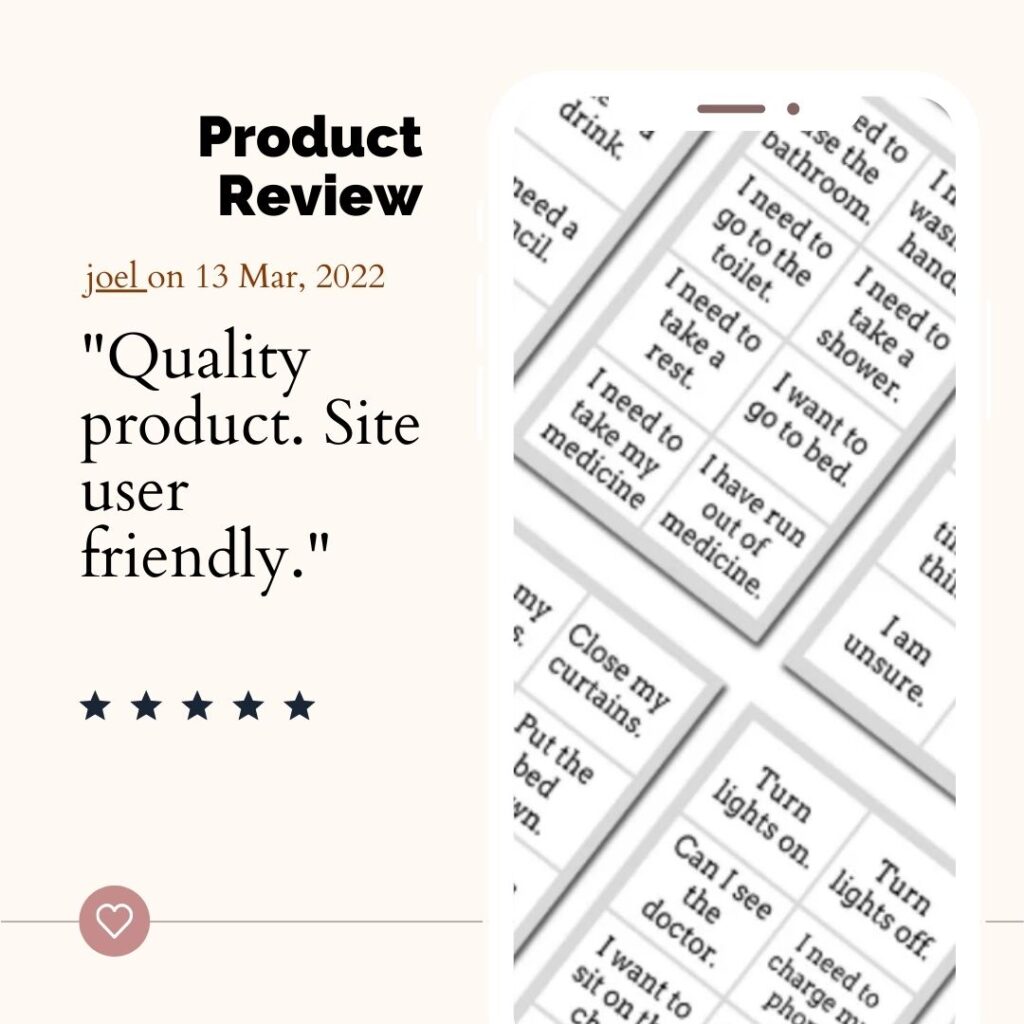
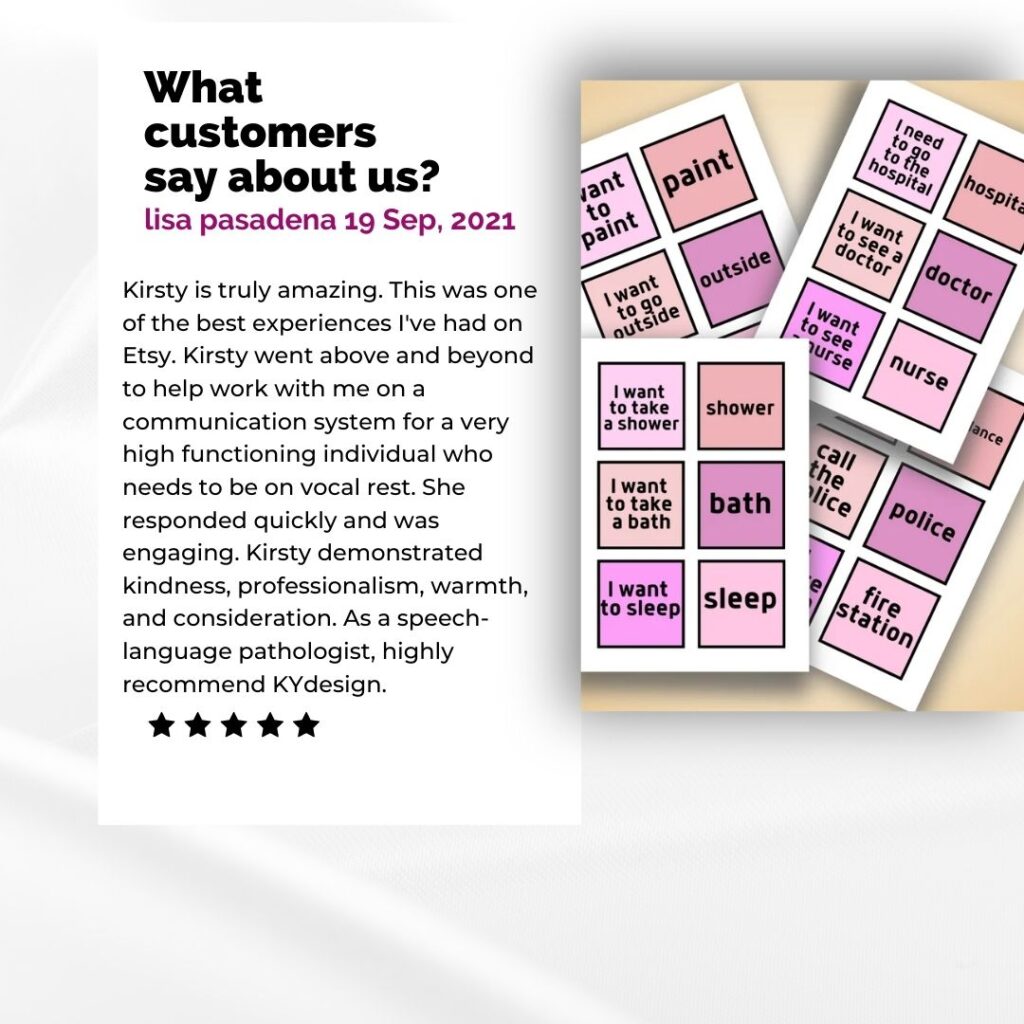
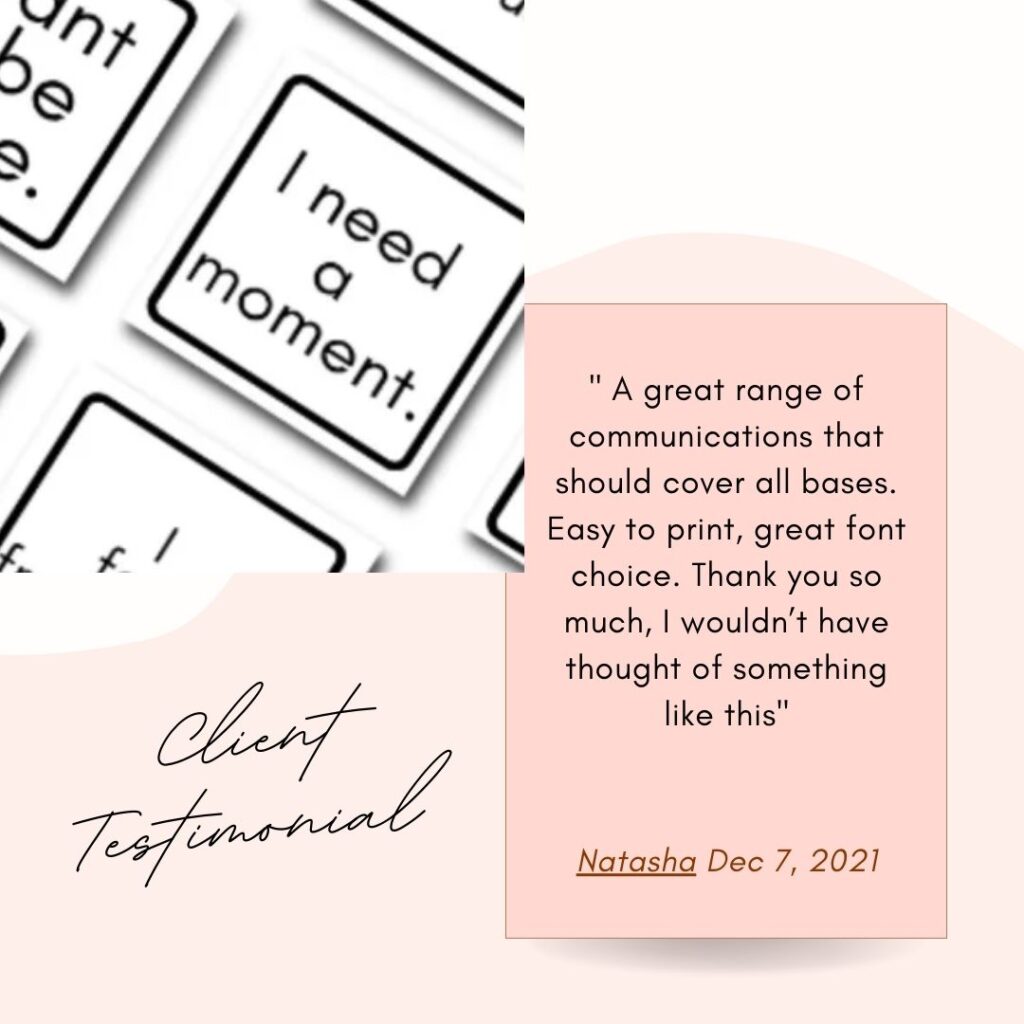
What people say about us...